
Programming a Garage Door Repair Roundup MT is a straightforward process that allows you to synchronize your opener with your garage door system, remote controls, and other accessories.
Whether you’re installing a brand-new opener or replacing an existing one, this comprehensive guide will walk you through the programming steps in detail, ensuring a smooth and successful setup.
1. Gather Your Equipment:
Before you begin programming your new LiftMaster garage door opener, gather the necessary equipment, including the opener unit, remote controls, keypad (if applicable), and ladder. Ensure that you have access to a power source and sufficient lighting in your garage for optimal visibility.
2. Install the Opener:
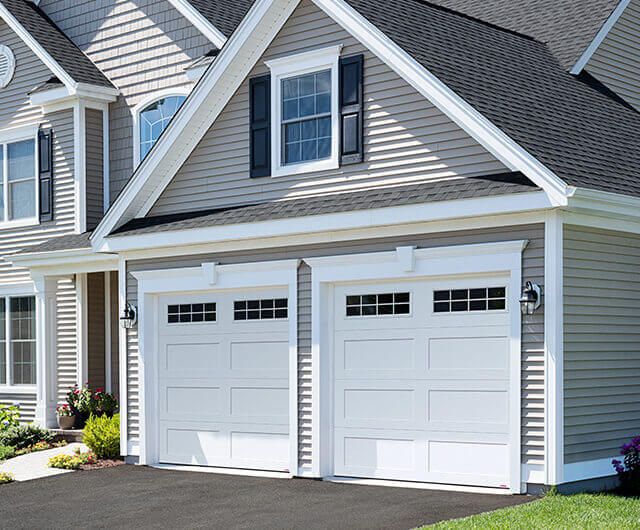
If you haven’t already installed the garage door opener, follow the manufacturer’s instructions to mount the opener unit securely to the ceiling of your garage. Ensure that the opener is positioned centrally above the garage door and that all safety precautions, such as installing safety sensors and securing the door’s release mechanism, are observed.
3. Power Up the Opener:
Connect the opener to a power source and wait for it to initialize. Most LiftMaster garage door openers feature a built-in LED indicator light that will illuminate once power is supplied. This light serves as a visual cue during the programming process, indicating when the opener is ready to receive commands.
4. Access the Programming Controls:
Locate the programming controls on your LiftMaster garage door opener. These controls may consist of buttons, switches, or a combination of both, depending on the model of your opener. Refer to the owner’s manual for specific instructions on accessing the programming interface.
5. Set the Remote Controls:
To program remote controls to your LiftMaster opener, press the “Learn” button on the opener unit. The LED indicator light will flash, indicating that the opener is in programming mode. Within 30 seconds, press the desired button on your remote control until the LED light on the opener unit stops flashing, indicating that the remote control has been successfully programmed.
6. Program the Keypad (If Applicable):
If your LiftMaster garage door opener includes a wireless keypad, follow similar steps to program it. Enter the desired PIN code on the keypad and then press the “Learn” button on the opener unit. Enter the PIN code again and press “Enter” to confirm. The LED indicator light on the opener unit will confirm successful programming.
7. Test the Opener:
Once you have programmed the remote controls and keypad, test the garage door opener to ensure that it operates correctly. Use the remote controls or keypad to open and close the garage door several times, verifying that the opener responds promptly and smoothly to commands.
8. Finalize Programming (Optional):
Depending on your LiftMaster opener model, you may have additional programming options, such as adjusting travel limits, setting automatic closing timers, or activating security features. Refer to the owner’s manual for instructions on accessing and configuring these settings to suit your preferences.
9. Secure and Store Your Equipment:
After completing the programming process, securely mount the remote controls and keypad in convenient locations within your garage. Store the owner’s manual and any spare remote controls in a safe place for future reference.
10. Enjoy Your Fully Programmed Opener:
With your LiftMaster garage door opener successfully programmed, you can now enjoy the convenience and security of automated garage door operation. Feel confident knowing that your opener is synchronized with your remote controls and keypad, providing reliable access to your garage whenever you need it.
By following these step-by-step instructions, you can program your new LiftMaster garage door opener with ease and confidence, ensuring seamless integration with your garage door system and accessories.
Hi-Country Dock & Door LLC
104 Cottonwood Rd, Roundup, MT 59072, United States
1-406-320-0518