Local Businesses Blog in Texas

Tag: garage door repair parker co

How To Change Batteries In Chamberlain Garage Door Opener – Martin Garage Door

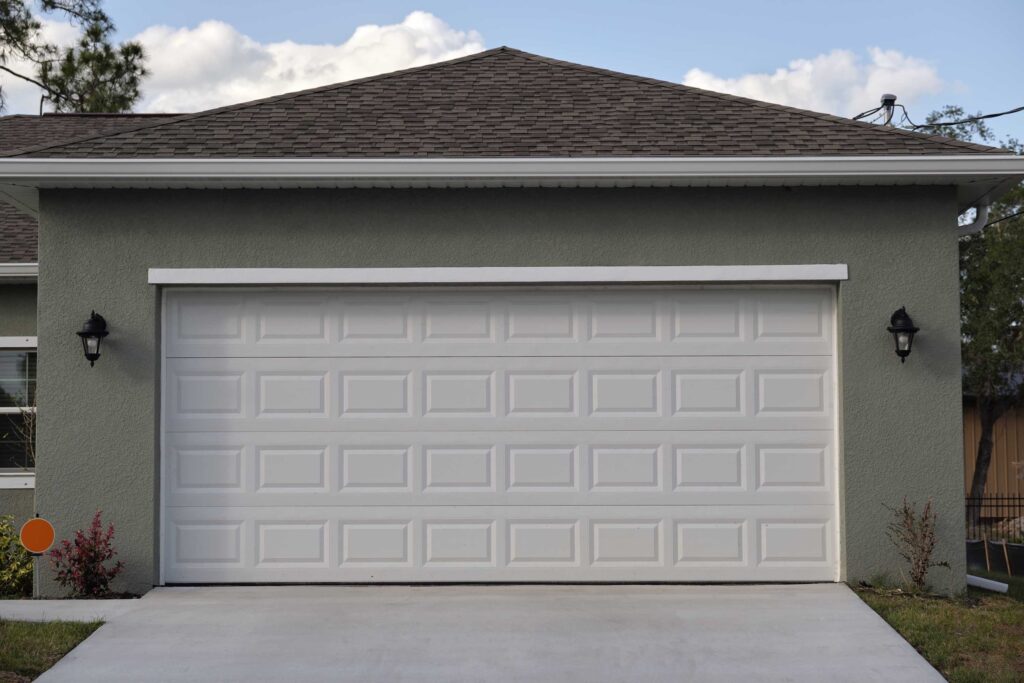
Maintaining the functionality of your Garage Door Repair Parker CO is crucial for the smooth operation of your garage door. One essential aspect of this maintenance is ensuring that the batteries in your garage door opener are in good condition.

Over time, the batteries may lose their charge and need to be replaced to ensure optimal performance. In this guide, we’ll walk you through the step-by-step process of changing the batteries in your Chamberlain garage door opener, ensuring that your opener continues to operate reliably.

Understanding Chamberlain Garage Door Opener Batteries

Chamberlain garage door openers typically use batteries to power various components, such as the remote controls and wireless keypads. The type and quantity of batteries required may vary depending on the specific model of your garage door opener. Therefore, it’s essential to refer to the owner’s manual or check the specifications of your opener to determine the type of batteries required.

Signs That Your Garage Door Opener Batteries Need Changing

Before replacing the batteries in your Chamberlain garage door opener, it’s essential to identify any signs that indicate the batteries need changing. Some common indicators include:

  1. Weak or inconsistent performance: If your garage door opener remote control or wireless keypad becomes less responsive or stops working altogether, it may be a sign that the batteries need to be replaced.
  2. Low battery indicator: Some Chamberlain garage door openers are equipped with a low battery indicator light, which will illuminate when the batteries are running low.
  3. Audible warning signals: In some cases, your garage door opener may emit audible warning signals, such as beeps or chirps, when the batteries are running low.

If you notice any of these signs, it’s essential to replace the batteries promptly to avoid any inconvenience or disruption to your garage door operation.

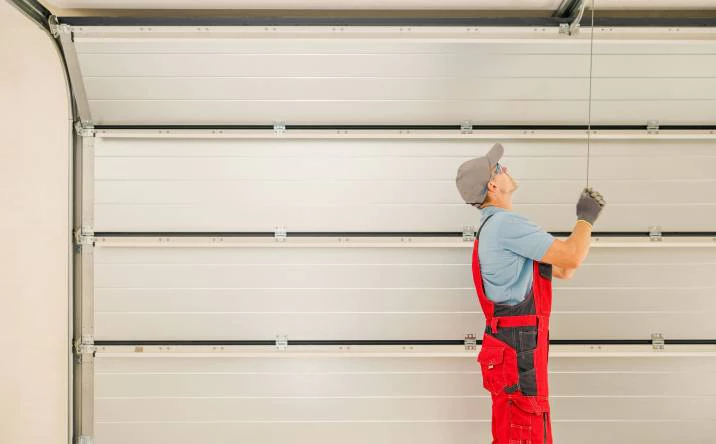
Changing the Batteries in Your Chamberlain Garage Door Opener

Follow these step-by-step instructions to change the batteries in your Chamberlain garage door opener:

  1. Locate the battery compartment: The battery compartment is typically located on the back or side of the garage door opener motor unit. Use a step ladder if necessary to access the compartment safely.
  2. Open the battery compartment: Depending on the model of your Chamberlain garage door opener, you may need to press a release button or slide a cover to open the battery compartment.
  3. Remove the old batteries: Carefully remove the old batteries from the compartment, taking note of their orientation. Dispose of the old batteries according to local regulations and guidelines.
  4. Insert the new batteries: Insert the new batteries into the compartment, ensuring that they are inserted in the correct orientation as indicated by the markings inside the compartment.
  5. Close the battery compartment: Once the new batteries are inserted, close the battery compartment securely to protect the batteries from dust and debris.
  6. Test the garage door opener: Test the garage door opener remote control or wireless keypad to ensure that it operates smoothly with the new batteries installed. If necessary, reprogram the remote control or keypad according to the manufacturer’s instructions.

Conclusion:

Changing the batteries in your Chamberlain garage door opener is a simple yet essential maintenance task that can help ensure the reliable operation of your garage door. By following the steps outlined in this guide, you can replace the batteries safely and effectively, keeping your garage door opener functioning optimally.

Martin Garage Door

10411 S Parker Rd, Parker, CO 80134, United States

1-303-663-1310

How To Install Garage Door Bottom Weather Seal – Martin Garage Door

Maintaining a well-sealed Garage Door Repair Parker CO is essential for protecting your garage from the elements and preventing energy loss. The bottom weather seal, also known as a garage door threshold seal or astragal, plays a crucial role in sealing the gap between the bottom of the garage door and the floor.

Over time, this seal may wear out, crack, or become damaged, compromising its effectiveness. Fortunately, replacing or installing a new garage door bottom weather seal is a relatively simple DIY project that can be completed with basic tools and materials. In this comprehensive guide, we’ll walk you through the step-by-step process of installing a garage door bottom weather seal to help you maintain a well-sealed and energy-efficient garage.

1. Gather Your Materials and Tools

Before you begin, gather the necessary materials and tools for the project:

  • New garage door bottom weather seal
  • Utility knife or scissors
  • Measuring tape
  • Pry bar or flathead screwdriver
  • Hammer
  • Nails or screws
  • Silicone adhesive (optional)

2. Measure and Prepare the Garage Door

Start by measuring the width of your garage door opening to determine the length of the new weather seal needed. Use a measuring tape to measure the width of the door from one side to the other. Take accurate measurements to ensure the weather seal fits snugly across the entire width of the door.

3. Remove the Old Weather Seal

If your garage door already has an existing weather seal that needs replacement, use a pry bar or flathead screwdriver to carefully remove it. Start at one end of the door and work your way across, gently prying the old seal away from the bottom of the door. Be careful not to damage the door or surrounding areas during the removal process.

4. Clean the Bottom of the Garage Door

Once the old weather seal is removed, take the time to clean the bottom of the garage door thoroughly. Use a brush or vacuum cleaner to remove any dirt, debris, or adhesive residue. A clean surface will ensure proper adhesion and sealing of the new weather seal.

5. Prepare the New Weather Seal

Unroll the new garage door bottom weather seal and lay it flat on a clean, flat surface. If necessary, trim the seal to match the width of your garage door opening using a utility knife or scissors. Be sure to cut the seal slightly longer than needed to ensure a tight fit.

6. Install the New Weather Seal

Position the new weather seal at the bottom of the garage door, aligning it evenly along the width of the door. Starting from one end, secure the seal in place using nails or screws, spaced evenly apart along the length of the door. Alternatively, some weather seals come with adhesive backing for easy installation – simply peel off the backing and press the seal firmly onto the bottom of the door.

7. Test the Seal and Make Adjustments

Once the new weather seal is installed, close the garage door and inspect the seal for any gaps or inconsistencies. The seal should create a tight barrier between the bottom of the door and the floor, preventing drafts, moisture, and pests from entering the garage. If necessary, make adjustments to ensure the seal is properly aligned and seated.

8. Apply Silicone Adhesive (Optional)

For added security and durability, consider applying a thin layer of silicone adhesive to the bottom of the garage door before installing the weather seal. This will help create a stronger bond between the seal and the door, ensuring it stays in place even during extreme weather conditions.

9. Perform Regular Maintenance

To prolong the life of the garage door bottom weather seal and maintain its effectiveness, perform regular maintenance checks and cleaning. Inspect the seal periodically for signs of wear, damage, or deterioration, and replace it as needed to ensure optimal sealing performance. Additionally, clean the seal regularly with mild soap and water to remove dirt, debris, and grease buildup.

Conclusion:

Installing a garage door bottom weather seal is a simple yet effective way to maintain a well-sealed and energy-efficient garage. By following these step-by-step instructions and using basic tools and materials, you can replace or install a new weather seal to protect your garage from the elements and keep it comfortable year-round. With proper installation and maintenance, your garage door bottom weather seal will provide reliable protection and peace of mind for years to come.

Martin Garage Door

10411 S Parker Rd, Parker, CO 80134, United States

7851-303-663-1310

Why Is My Garage Door Clicking And Not Opening – Martin Garage Door

A clicking noise from your  Garage Door Repair Parker CO accompanied by a failure to open can be frustrating and concerning. Several factors can contribute to this issue, ranging from minor mechanical issues to more significant problems with the door mechanism or opener.

Here are some common reasons why your garage door may be clicking and not opening, along with troubleshooting steps to help diagnose and resolve the issue:

1. Misaligned Tracks:

  • One of the most common reasons for a clicking sound when attempting to open the garage door is misaligned tracks. If the tracks are not properly aligned, the rollers may bind or get stuck, causing clicking noises. Inspect the tracks for any visible signs of misalignment, such as gaps or gaps between the rollers and the track. Use a level to ensure that the tracks are plumb and adjust them as needed to realign them properly.

2. Loose Hardware:

  • Loose hardware, such as nuts, bolts, screws, or brackets, can also cause clicking noises when the garage door is operated. Inspect the hardware on both the door and the track system for any signs of looseness or damage. Tighten any loose hardware using the appropriate tools to ensure that all components are securely fastened.

3. Worn Rollers or Bearings:

  • Worn or damaged rollers or bearings can cause clicking sounds as the garage door moves along the tracks. Inspect the rollers and bearings for signs of wear, such as flat spots, cracks, or excessive play. Replace any worn or damaged rollers or bearings with new ones to eliminate the clicking noises and ensure smooth operation of the door.

4. Lack of Lubrication:

  • Insufficient lubrication of moving parts can lead to friction and clicking noises when the garage door is operated. Apply a lubricant specifically designed for garage door components, such as silicone spray or white lithium grease, to the rollers, tracks, hinges, springs, and other moving parts. Be sure to clean any dirt or debris from the components before applying lubricant to ensure optimal performance.

5. Tension Spring Issues:

  • Problems with the tension springs or torsion spring system can also cause clicking noises and affect the operation of the garage door. Inspect the tension springs for any signs of wear, damage, or imbalance. If the springs appear worn or damaged, or if they are not properly tensioned, they may need to be adjusted or replaced by a trained technician to restore proper function and eliminate clicking noises.

6. Electrical Problems with Opener:

  • If your garage door opener is making clicking noises but the door is not opening, there may be electrical issues with the opener unit. Check the power supply to the opener to ensure it is receiving electricity. Inspect the wiring and connections for any signs of damage or corrosion. If necessary, reset the opener by unplugging it from the power source for a few minutes and then plugging it back in. If the problem persists, contact a professional garage door technician to inspect and repair the opener.

7. Sensor Misalignment or Obstruction:

  • Garage door safety sensors are designed to detect obstructions and prevent the door from closing if there is an object in the way. If the sensors are misaligned or obstructed by dirt, debris, or other objects, they may cause the garage door to click and fail to open. Check the alignment of the sensors and clean any dirt or debris from the sensor lenses. Ensure that nothing is blocking the sensor beams and that they are properly aligned to allow the door to operate smoothly.

Conclusion:

  •  Garage Door Repair Parker CO If you are unable to identify or resolve the issue on your own, it is recommended to contact a professional garage door technician for assistance and repair.

Martin Garage Door

10411 S Parker Rd, Parker, CO 80134

1-303-663-1310

https://maps.app.goo.gl/j8gAG5mSbqgMgKrQ7

How To Pair Ford Garage Door Opener – Martin Garage Door


Garage Door Repair Parker CO  Below is a detailed guide on how to pair a garage door opener with a Ford vehicle:

1. Prepare the Garage Door Opener:

  • Before starting the pairing process, ensure that your garage door opener is compatible with the Ford UGDO system. Check the owner’s manual of your Ford vehicle for compatibility information.

2. Locate the UGDO Buttons:

  • The UGDO buttons are typically located on the overhead console or sun visor of your Ford vehicle. Locate these buttons before proceeding.

3. Put the Vehicle in Programming Mode:

  • Start by turning the ignition to the “On” position without starting the engine. This activates the vehicle’s electrical system and allows you to program the UGDO system.

4. Press and Hold the UGDO Button:

  • Press and hold the UGDO button that you want to program (typically labeled “1,” “2,” or “3”). Hold the button until the indicator light above or near the button begins to flash rapidly. This indicates that the UGDO system is in programming mode.

5. Select the Garage Door Opener Remote:

  • Locate the remote control for your garage door opener. Hold the remote control close to the UGDO button you’re programming, ensuring it’s within range.

6. Program the UGDO Button:

  • While the indicator light is flashing rapidly, press and hold the button on your garage door opener remote control that you want to program to the UGDO system. Hold the button until the indicator light on the UGDO button flashes slowly, indicating that the programming was successful.

7. Test the Garage Door Opener:

  • Test the programmed UGDO button to ensure that it operates your garage door opener correctly. Press the button and observe whether the garage door opens or closes as expected. Repeat the process for additional UGDO buttons if necessary.

8. Store the Remote Control:

  • Once the programming is complete, store the garage door opener remote control in a safe place, such as your glove compartment, to prevent unauthorized access to your garage.

9. Troubleshooting:

  • If you encounter any issues during the pairing process, refer to the troubleshooting section of your Ford vehicle’s owner’s manual or contact your local Ford dealership for assistance.

Conclusion:

Garage Door Repair Parker CO  By following the instructions provided above, you can successfully program the UGDO buttons in your Ford vehicle to operate your garage door opener.

Martin Garage Door

10411 S Parker Rd, Parker, CO 80134, United States

1-303-663-1310

How To Change Garage Door Code Without Old Code – Martin Garage Door


Changing the Garage Door Repair Parker CO can be a challenging task, but it’s possible with most modern garage door openers.

The process may vary depending on the brand and model of your garage door opener. Here’s a comprehensive guide on how to change the garage door code without the old code:

1. Identify Your Garage Door Opener Model: Start by identifying the make and model of your garage door opener. This information is usually found on the motor unit of the opener or in the user manual. Knowing the model is essential for accessing accurate instructions for changing the code.

2. Locate the Learn or Program Button: Most garage door openers have a “Learn” or “Program” button that is used to input new codes. The button is typically located on the motor unit, which is mounted on the ceiling of your garage. Refer to your user manual or inspect the motor unit to find the button.

3. Clear Existing Codes (if applicable): If you don’t have the old code, it’s crucial to clear any existing codes from the opener’s memory. To do this, locate the “Learn” or “Program” button and press it for a specified duration until the indicator light on the motor unit turns off or blinks.

4. Determine the Code Change Procedure: Different garage door opener models have varying procedures for changing the code without the old one. Some models may require you to enter a specific combination of button presses, while others may involve a different sequence. Refer to your user manual for the specific code change procedure for your opener.

5. Enter New Code: Once the opener is in programming mode, enter the new code that you want to set for your garage door. Choose a secure code that is not easily guessable. Follow the instructions in your user manual for the correct way to input the new code.

6. Test the New Code: After entering the new code, test its functionality by pressing the code on your garage door opener remote or keypad. The garage door should respond by opening or closing, depending on the desired function. This step verifies that the new code has been successfully programmed.

7. Program Additional Devices (if applicable): If you have multiple remotes or keypads, follow the same procedure to program them with the new code. Refer to your user manual for instructions on programming additional devices.

8. Keep the User Manual Handy: After successfully changing the garage door code, keep the user manual in a convenient and accessible location. It can be helpful for future reference, especially if you need to reprogram or troubleshoot the opener.

9. Consider Upgrading to Rolling Code Technology: If your garage door opener supports rolling code technology, consider upgrading to this advanced security feature. Rolling code technology generates a new code with each use, making it more secure and resistant to code-grabbing devices. Consult your user manual or contact the manufacturer to inquire about upgrading options.

10. Consult Customer Support (if needed): If you encounter difficulties or if the procedure for changing the code without the old one is not clear, contact the customer support of the garage door opener manufacturer. They can provide guidance and assistance based on your specific model.

11. Hire Professional Assistance (if needed): If changing the garage door code proves challenging or if you prefer professional assistance, consider hiring a garage door technician. Professionals have experience with various garage door opener models and can efficiently change the code for you.

12. Update Security Features Regularly: For enhanced security, consider updating your garage door opener’s security features regularly. This may involve changing the access code periodically or taking advantage of advanced security options provided by the manufacturer.

Conclusion:

Changing the Garage Door Repair Parker CO is possible with most modern garage door openers. By following these general steps and consulting your user manual for specific instructions, you can successfully update the code to enhance the security of your garage. Regular maintenance, code updates, and keeping the user manual handy contribute to the long-term functionality and security of your garage door opener system.

Martin Garage Door

10411 S Parker Rd, Parker, CO 80134, United States

1-303-663-1310

How Can I Reset My Garage Door Opener? – Martin Garage Doors

Resetting a garage door opener is a relatively simple process that can be done by following a few steps. Before you begin, it’s important to note that the specific instructions may vary depending on the model and manufacturer of your garage door opener.

To reset your garage door opener, follow these steps I got from Garage Door Repair:

First, I want to ensure your safety, so let’s start by disconnecting the power supply to the garage door opener. Locate the power source, which is typically an electrical outlet near the opener or a circuit breaker in your home’s electrical panel. Unplug the opener or switch off the circuit breaker to cut off the power.

Next, find the reset button on your garage door opener. It’s usually located on the main unit, and you can identify it as a small button or a small hole with a button behind it. Take a moment to locate this button.

Now, using a small tool like a paperclip or a pen, press and hold the reset button. Hold it down firmly for about 10 to 15 seconds. During this time, you may notice some lights flashing or hear a beeping sound, indicating that the reset process is underway.

After holding the reset button for the specified duration, it’s time to release it. Let go of the button and observe any additional lights or sounds that may signal the completion of the reset process.

Once the reset is complete, it’s time to restore power to the garage door opener. Reconnect the power by plugging the opener back into the electrical outlet or turning the circuit breaker back on, depending on how you disconnected the power earlier.

Now comes the moment of truth. Test the garage door opener to see if the reset was successful. Press the remote control or use the wall-mounted button to operate the door. It should now function normally. If it doesn’t, you might need to repeat the reset process or consult the manufacturer’s instructions for further troubleshooting steps.

In some cases, resetting the garage door opener may also require you to reprogram any remote controls or keypad entry systems that you use to operate the door. Refer to the manufacturer’s instructions for specific guidelines on how to reprogram these devices.

Don’t forget to check the safety features of your garage door opener. Ensure that the auto-reverse mechanism and the photoelectric sensors are working properly. Test the door’s response to obstacles in its path to make sure it stops and reverses when necessary.

To prevent future issues, it’s essential to perform regular maintenance on your garage door opener. This includes lubricating the moving parts, checking the cables and springs for wear, and keeping the tracks clean and aligned. Refer to the manufacturer’s instructions for specific maintenance guidelines.

That’s it! By following these steps from Garage Door Repair, you should be able to reset your garage door opener and restore its functionality. Remember, if you have any doubts or encounter difficulties, it’s always best to consult the manufacturer’s instructions or reach out to their customer support for further assistance.

Martin Garage Doors

10411 South Parker Rd. Parker, CO 80134

Denver Metro: 303-663-1310

Colorado Springs: 719-264-8380

Powered by WordPress & Theme by Anders Norén