Local Businesses Blog in Texas

Tag: garage door repair richmond TX

How Do Garage Door Extension Springs Work – 20527 Farm to Market 1093 a2

Garage Door Repair Richmond TX are a type of spring mechanism commonly used in residential garage door systems. Unlike torsion springs, which are mounted horizontally above the garage door opening, extension springs are mounted vertically on both sides of the door track and stretch or extend when the door is closed.

They work by storing energy when the door is in the closed position and releasing it to assist in lifting the door when it is opened. Let’s take a closer look at how garage door extension springs work and the key factors that contribute to their operation.

1. Function of Garage Door Extension Springs

The primary function of garage door extension springs is to counterbalance the weight of the garage door and assist in lifting and lowering it smoothly and efficiently. When the door is closed, the extension springs are stretched to their maximum length and store energy. As the door is opened, the springs contract and release the stored energy, helping to lift the door and reduce the amount of force required to open it. Conversely, when the door is closed, the extension springs stretch again, absorbing the energy generated by the door’s downward movement and preventing it from slamming shut.

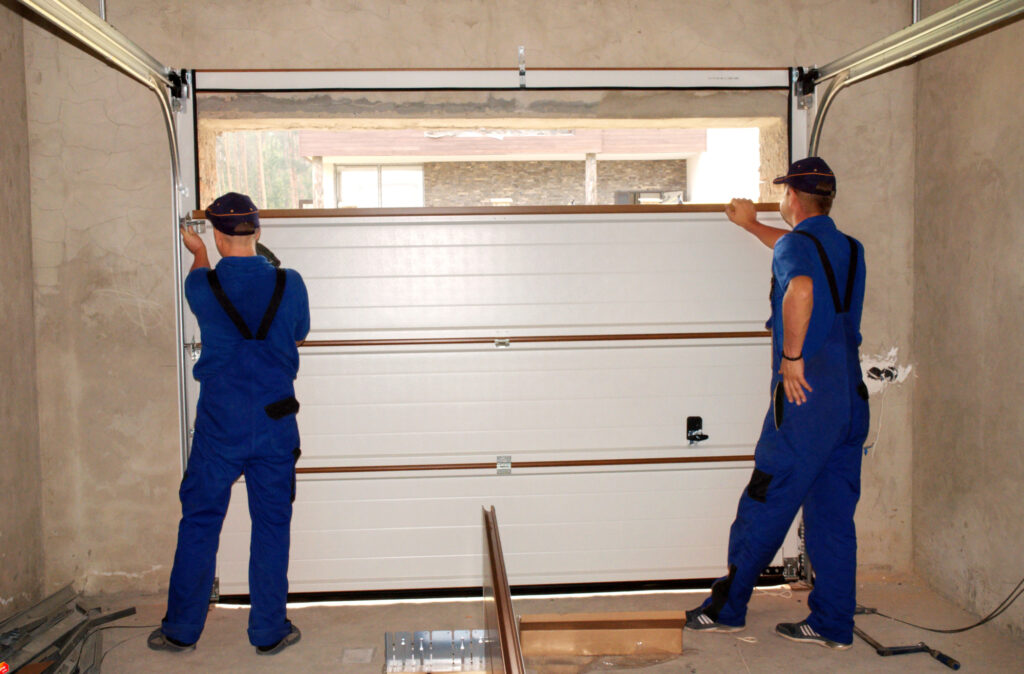
2. Components of Garage Door Extension Springs

Garage door extension springs consist of several key components that work together to facilitate their operation:

  • Spring Coils: Extension springs are made up of tightly wound coils of steel or other durable materials that provide the necessary tension to counterbalance the weight of the garage door.
  • Safety Cables: Safety cables are installed through the center of extension springs as a precautionary measure to prevent the springs from becoming projectiles if they break. The cables are attached to the garage door track and anchored to the wall or ceiling, ensuring that the springs remain contained in the event of a failure.
  • End Hooks: The ends of extension springs are typically equipped with hooks or loops that attach to the bottom of the garage door track and the door itself. These hooks secure the springs in place and allow them to stretch and contract as the door is opened and closed.
  • Pulleys and Cables: Extension springs are connected to the garage door track via pulleys and cables, which help guide the springs as they stretch and contract. The cables are attached to the bottom of the garage door and run through the pulleys to the extension springs, providing a stable and controlled mechanism for lifting and lowering the door.

3. Operation of Garage Door Extension Springs

When the garage door is closed, extension springs are stretched to their maximum length and store potential energy. As the door is opened, the springs contract and release the stored energy, assisting in lifting the door and reducing the amount of force required by the opener motor. The extension springs continue to exert tension on the door throughout its travel, counterbalancing its weight and ensuring smooth and controlled movement.

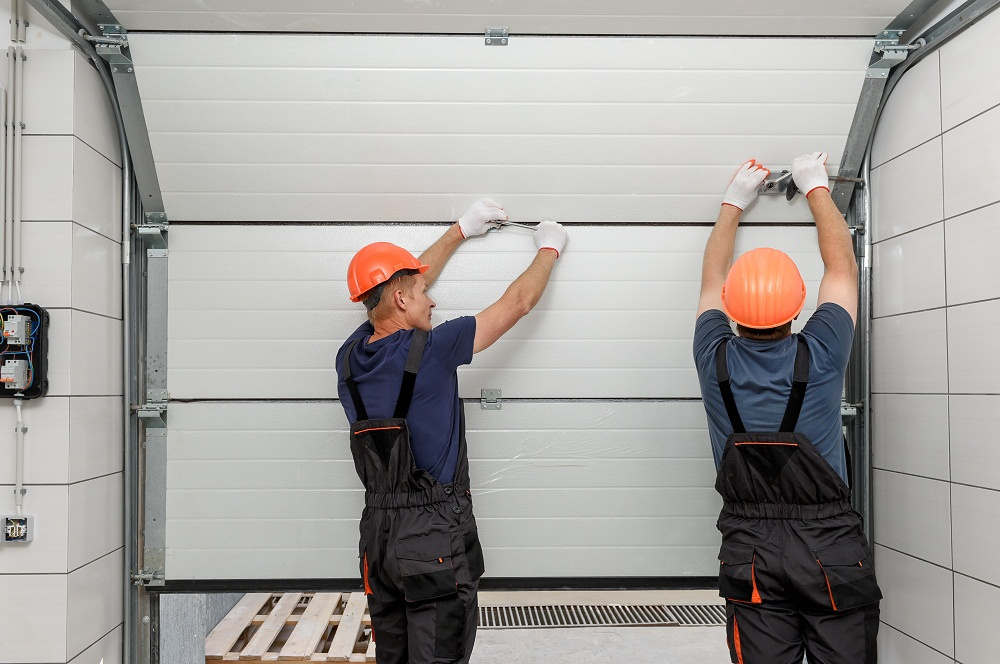
4. Maintenance and Safety Considerations

Proper maintenance and regular inspection of garage door extension springs are essential to ensure their safe and reliable operation. Here are some important maintenance and safety considerations to keep in mind:

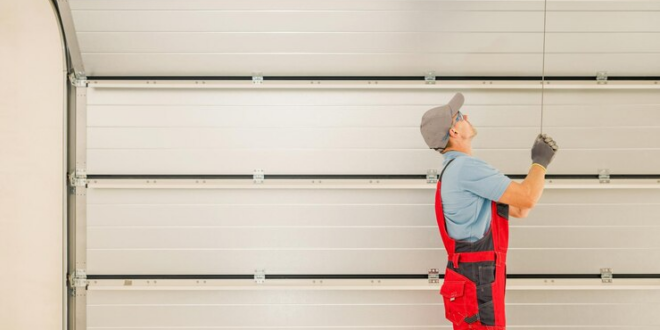
  • Visual Inspection: Periodically inspect the extension springs for signs of wear, corrosion, or damage, such as rust, cracks, or elongation. If any issues are detected, replace the springs immediately to prevent accidents or injuries.
  • Lubrication: Apply a small amount of lubricant to the extension springs and other moving parts of the garage door system to reduce friction and prolong their lifespan. Be sure to use a lubricant specifically designed for garage door systems to avoid damaging the springs or other components.
  • Tension Adjustment: If the garage door does not open or close smoothly or if it appears unbalanced, check the tension of the extension springs and adjust as needed. Consult the manufacturer’s instructions or seek professional assistance if you’re unsure how to properly adjust the tension.
  • Safety Cables: Ensure that safety cables are installed properly and securely through the center of the extension springs and attached to the garage door track and the wall or ceiling. Safety cables provide an additional layer of protection in the event of a spring failure, preventing the springs from causing damage or injury.

Conclusion:

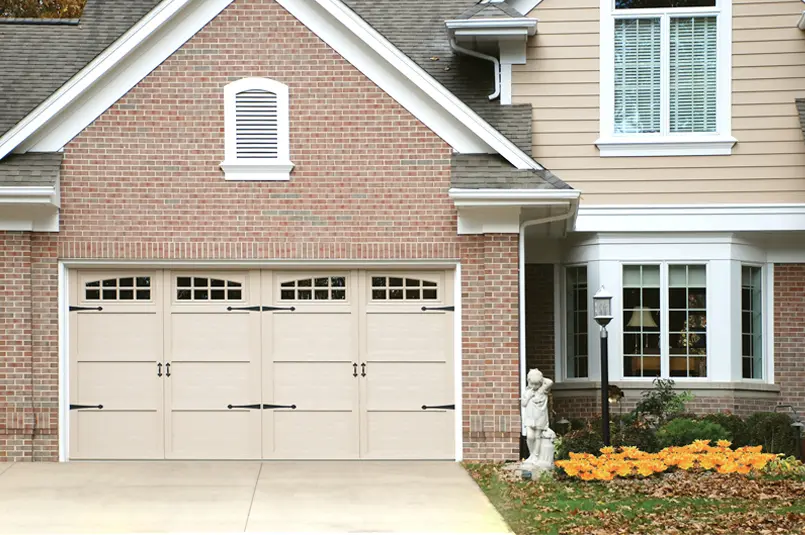
Garage door extension springs are essential components of many residential garage door systems, providing the necessary tension to counterbalance the weight of the door and facilitate smooth and efficient opening and closing. By understanding how extension springs work and the key factors that contribute to their operation, homeowners can ensure the safe and reliable performance of their garage doors for years to come. With proper maintenance and regular inspection, extension springs can provide years of trouble-free service, enhancing the convenience and functionality of your home’s garage door system.

20527 Farm to Market 1093 a2

20527 Farm to Market 1093 a2, Richmond, TX 77407

1-281-725-4980

Do Garage Doors Increase Home Value – First Call Garage Doors


Garage Door Repair Richmond TX  can indeed increase the value of a home in several ways.

Here’s a detailed explanation of how garage doors can positively impact home value:

  1. Enhanced Curb Appeal: Garage doors are prominent features of a home’s exterior, contributing significantly to its overall curb appeal. An attractive and well-maintained garage door can instantly boost the aesthetic appeal of a property, making it more appealing to potential buyers. Conversely, an old, worn-out, or poorly maintained garage door can detract from the home’s curb appeal and potentially reduce its value.
  2. Improved Security and Safety: A sturdy and secure garage door provides an additional layer of security for homeowners, protecting their vehicles, belongings, and the interior of their homes from unauthorized access and intruders. Modern garage doors often come equipped with advanced security features such as automatic locking mechanisms, rolling code technology, and smartphone connectivity, enhancing home security and safety. The presence of a secure garage door can be a significant selling point for prospective buyers and may increase the perceived value of the property.
  3. Functionality and Convenience: A functional and well-designed garage door enhances the convenience and usability of a home’s garage space. Modern garage doors offer various features and options, such as remote-controlled operation, keyless entry systems, insulated panels, and energy-efficient materials. These features enhance the usability of the garage and make it easier for homeowners to access and use the space for parking, storage, and other purposes. The convenience and functionality provided by a high-quality garage door can contribute to the overall desirability and value of the property.
  4. Energy Efficiency: Energy-efficient garage doors with proper insulation can help regulate the temperature inside the garage, reducing heat loss in the winter and heat gain in the summer. By minimizing energy waste and improving thermal efficiency, insulated garage doors can lower utility costs and enhance the overall energy efficiency of the home. Homebuyers increasingly prioritize energy-efficient features when searching for properties, so the presence of an energy-efficient garage door can add value to a home and appeal to eco-conscious buyers.
  5. Return on Investment (ROI): Installing a new garage door or upgrading an existing one is considered a high-ROI home improvement project. According to Remodeling magazine’s Cost vs. Value report, garage door replacement consistently ranks among the top home improvement projects with the highest return on investment. A well-executed garage door replacement project can recoup a significant portion of its cost at resale, making it a worthwhile investment for homeowners looking to increase their home’s value.

Investing in a high-quality Garage Door Repair Richmond TX  can yield numerous benefits for homeowners, both in terms of enjoyment and potential resale value.

First Call Garage Doors

20527 FM 1093 Rd Unit B205 Richmond, TX 77407

713-248-2684

https://maps.app.goo.gl/t63qb9AmNfom8KU87

How To Replace Garage Door Wall Control – 20527 Farm to Market 1093 a2


Garage Door Repair Richmond TX If your existing wall control is malfunctioning, damaged, or outdated, replacing it with a new unit can restore reliable operation and convenience.

Here’s a detailed guide on how to replace a garage door wall control:

  1. Gather Necessary Tools and Materials: Before starting the replacement process, gather the tools and materials you’ll need for the job. You’ll likely need a flathead screwdriver, Phillips screwdriver, wire stripper/cutter, voltage tester or multimeter, and the replacement wall control unit compatible with your garage door opener model. Ensure that you have a suitable replacement unit that matches the specifications and wiring configuration of your existing wall control.
  2. Disconnect Power to the Garage Door Opener: Before working on the wall control, disconnect power to the garage door opener to prevent electrical shock or damage. Locate the power source for the opener, typically a dedicated circuit breaker or power outlet near the opener motor unit. Turn off the power supply to the opener by switching off the corresponding circuit breaker or unplugging the power cord.
  3. Remove the Old Wall Control: Start by removing the old wall control unit from the wall. Use a flathead screwdriver to carefully pry off the cover plate surrounding the wall control, exposing the mounting screws underneath. Depending on the design of the wall control, you may need to remove screws, clips, or mounting brackets securing it to the wall.
  4. Disconnect Wiring Connections: Once the mounting screws or brackets are removed, carefully pull the old wall control away from the wall to expose the wiring connections behind it. Take note of the wiring configuration and label or photograph the wires for reference before disconnecting them. Use a wire stripper/cutter to remove the wire nuts or terminals securing the wires to the back of the wall control.
  5. Test Voltage: Before proceeding with the replacement, use a voltage tester or multimeter to verify that there is no electrical power present at the wiring connections. Place the voltage tester probes or multimeter leads on the exposed wires to check for voltage. If voltage is detected, return to the circuit breaker or power source and ensure that the power is turned off before continuing.
  6. Prepare New Wall Control Unit: Prepare the replacement wall control unit for installation by removing any protective packaging or covers. Check the wiring terminals or connection points on the back of the unit to ensure they match the configuration of the existing wiring. If necessary, consult the installation instructions provided with the replacement unit for guidance on wiring connections and compatibility.
  7. Connect Wiring to New Wall Control: Once you’ve verified that there is no electrical power present, connect the wiring from the garage door opener to the corresponding terminals on the back of the new wall control unit. Match the wire colors or labels with the appropriate terminals (e.g., red wire to R terminal, white wire to W terminal). Use wire nuts or terminals to secure the connections, ensuring they are tight and secure.
  8. Mount New Wall Control Unit: After wiring the new wall control, carefully position it on the wall in the desired location. Align the mounting screw holes or brackets with the corresponding holes or mounting points on the wall. Use screws, clips, or brackets to secure the new wall control unit to the wall, ensuring it is level and flush with the surface.
  9. Test Operation: Once the new wall control unit is securely mounted and wired, restore power to the garage door opener by turning on the circuit breaker or plugging in the power cord. Test the operation of the wall control by pressing the buttons to open and close the garage door. Verify that the wall control operates the opener smoothly and without any issues.
  10. Replace Cover Plate: After testing the wall control operation, replace the cover plate over the unit to conceal the mounting screws or brackets and provide a finished appearance. Snap or screw the cover plate into place securely, ensuring it is flush with the wall surface and properly aligned with the wall control unit.
  11. Perform Final Inspection: Once the replacement wall control is installed and operational, perform a final inspection of the unit and surrounding area. Check for proper alignment, secure mounting, and correct wiring connections. Ensure that the wall control buttons function as intended and that there are no signs of damage or defects.
  12. Dispose of Old Wall Control: Dispose of the old wall control unit according to local regulations and guidelines for electronic waste recycling or disposal. If the old unit contains any hazardous materials or components, take appropriate precautions to handle and dispose of it safely and responsibly.

Garage Door Repair Richmond TX If you encounter any difficulties or are unsure about the replacement process, consult the manufacturer’s instructions or seek assistance from a professional garage door technician for expert guidance and support.

20527 Farm to Market 1093 a2

713-248-2684

https://maps.app.goo.gl/t63qb9AmNfom8KU87

How To Program A Genie Pro Garage Door Opener – First Call Garage Doors

Garage Door Repair Richmond TX  While the exact process may vary slightly depending on the model of your Genie Pro opener.

the following general steps should guide you through the programming process:

1. Gather Necessary Materials:

  • Before starting the programming process, gather all the materials you’ll need, including your Genie Pro garage door opener, remote control or keypad, and the owner’s manual for your opener.

2. Clear Existing Programming (if necessary):

  • If your Genie Pro garage door opener has been previously programmed to another remote control or keypad, you’ll need to clear its memory before proceeding with programming. Consult your opener’s manual for instructions on how to clear existing programming.

3. Locate the “Learn” Button on Your Opener:

  • Most Genie Pro garage door openers have a “Learn” or “Program” button located on the motor unit. This button is typically located near the antenna wire or under the light cover. Refer to your opener’s manual if you’re having trouble locating the “Learn” button.

4. Enter Programming Mode on Your Opener:

  • To enter programming mode, press and release the “Learn” button on your Genie Pro garage door opener. The indicator light on the opener will usually begin flashing, indicating that the opener is ready to receive a new code.

5. Program Your Remote Control or Keypad:

  • With the opener in programming mode, follow the specific instructions provided in your opener’s manual for programming your remote control or keypad. This typically involves pressing and holding a specific button on the remote or entering a predetermined code on the keypad.

6. Wait for Confirmation:

  • After programming your remote control or keypad, wait for confirmation from the opener. This may involve the indicator light on the opener flashing, a beep sound, or the garage door moving slightly. Once you receive confirmation, the programming process is complete.

7. Test Your Remote Control or Keypad:

  • After programming is complete, test your remote control or keypad to ensure it’s working properly. Press the appropriate button on the remote or enter the code on the keypad to open and close your garage door. If the door operates as expected, programming was successful.

8. Repeat for Additional Remotes or Keypads (if necessary):

  • If you have multiple remote controls or keypads that you want to program to your Genie Pro garage door opener, repeat the programming process for each device individually. Make sure to follow the same steps for each device to ensure proper programming.

9. Secure Battery Cover and Store Remote or Keypad Safely:

  • After programming your remote control or keypad, securely replace the battery cover and store the device in a safe and easily accessible location. Make sure to keep the remote or keypad away from moisture, extreme temperatures, and other potential sources of damage.

Conclusion:

Garage Door Repair Richmond TX  By following the instructions provided in your opener’s manual and taking your time to complete each step carefully, you can successfully program your Genie Pro garage door opener to work with your remote control or keypad with ease. If you encounter any difficulties during the programming process, consult your opener’s manual or contact Genie customer support for assistance.

First Call Garage Doors

20527 Farm to Market 1093 Unit B205, Richmond, TX 77407, United States

1-713-248-2684

How Much Does A New Garage Door Cost – First Call Garage Doors

The cost of a new Garage Door Repair Richmond TX can vary significantly based on various factors, including the material, design, size, insulation, and additional features.

In this comprehensive guide, we’ll explore the factors influencing garage door prices and provide insights to help you understand the cost considerations when investing in a new garage door.

1. Material Selection: Garage doors come in a variety of materials, each with its own set of characteristics and price points.

  • Steel: Steel garage doors are a popular choice due to their durability and relatively lower cost. Prices can range from $400 to $2,000 or more, depending on the gauge of the steel and any additional features.
  • Wood: Wooden garage doors offer a classic and natural aesthetic. However, they tend to be more expensive, ranging from $700 to $4,000 or more, depending on the type of wood and design.
  • Aluminum: Aluminum doors are lightweight and resistant to corrosion. Prices typically range from $600 to $2,500, depending on factors such as thickness and insulation.
  • Fiberglass: Fiberglass garage doors are known for their low maintenance and resistance to dents. Prices can vary from $800 to $3,000 or more.

2. Design and Style: The design and style of the garage door significantly impact its cost. Basic, single-panel doors are more affordable, while intricate designs, windows, and custom finishes can increase the price. Carriage-style doors, for example, may range from $800 to $4,000 or more.

3. Size and Type: The size of the garage door and its type (single, double, or custom) play a crucial role in determining the overall cost. Standard single-car garage doors are generally more budget-friendly, starting around $500, while double-car doors can range from $800 to $3,000 or more.

4. Insulation: Insulated garage doors are beneficial for temperature control and energy efficiency. The level of insulation (single, double, or triple-layer) will impact the cost. Prices can range from $600 for a non-insulated door to $2,500 or more for a highly insulated one.

5. Additional Features: Various features and accessories can enhance the functionality and appearance of your garage door, but they also contribute to the overall cost. Common add-ons include windows, decorative hardware, smart technology integration, and special finishes.

6. Installation Costs: The cost of installing a new garage door is a crucial component of the overall expense. Professional installation ensures proper fitting and functionality. Installation costs typically range from $200 to $600, depending on factors such as location and complexity.

7. Brand and Quality: Garage door prices can also vary based on the brand and the overall quality of materials and construction. Well-known brands with a reputation for durability may have higher price points, ranging from $800 to $4,000 or more.

8. Local Factors: Regional variations, including labor costs and market demand, can influence the overall cost of a new garage door. Prices may differ based on location and local economic factors.

9. DIY vs. Professional Installation: While some homeowners may opt for a do-it-yourself (DIY) approach to save on installation costs, professional installation is recommended for optimal safety and functionality. DIY installation may, however, reduce costs by a few hundred dollars.

Conclusion:

In summary, the cost of a new Garage Door Repair Richmond TX is influenced by a combination of material, design, size, insulation, additional features, installation, brand, and local factors. On average, homeowners can expect to invest anywhere from $500 to $4,000 or more for a new garage door, with the final price determined by individual preferences and requirements. It’s essential to thoroughly research options, obtain multiple quotes, and consider long-term benefits when making this significant investment in your home.

First Call Garage Doors

20527 Farm to Market 1093 Unit B205, Richmond, TX 77407, United States

1-713-248-2684

Powered by WordPress & Theme by Anders Norén