
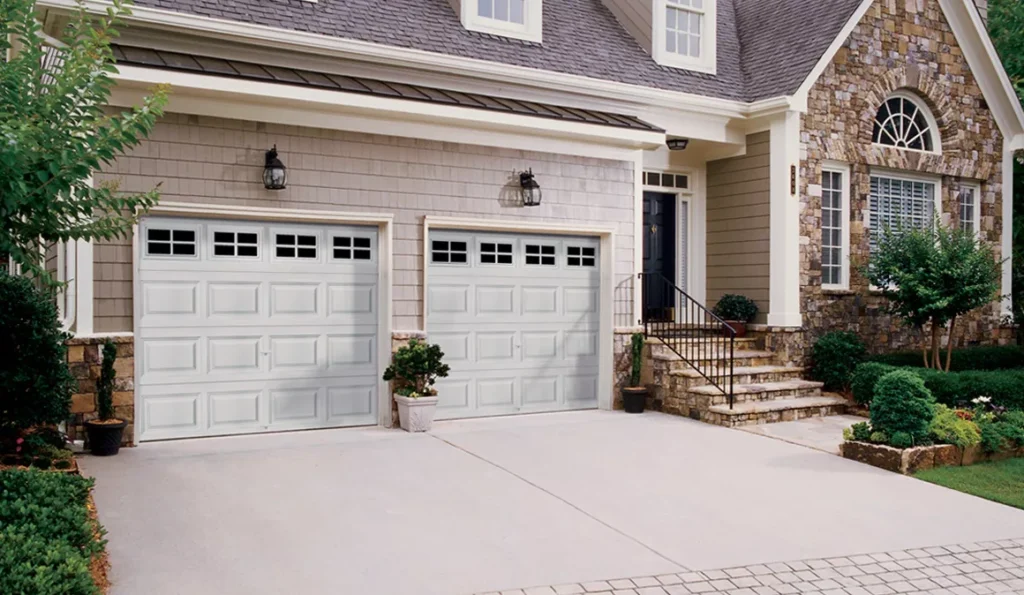
Installing a Garage Door Repair Plano TX is a fantastic way to add a personal touch to your home and make a statement in your neighborhood.
Whether you want to display a favorite sports team, promote a business, or simply showcase your creativity, the process is relatively straightforward. In this comprehensive guide, I’ll take you through each step in detail to ensure a successful installation.
: Gather Your Materials
Before you begin, make sure you have all the necessary materials at hand. This includes the garage door banner kit, which typically includes the banner itself, adhesive, and any additional components. You’ll also need cleaning supplies, a measuring tape, a step ladder, scissors, a pencil, and a level.
: Choose the Perfect Location
Decide where on your garage door you want to install the banner. Consider the size of the banner and the available space on your garage door. Take note of any windows or other features that might affect the placement.
: Prepare the Surface
Start by cleaning the chosen area on your garage door. Use a mixture of soap and water to ensure that the surface is free from dirt, dust, and grease. Wipe it down with a soft cloth and let it dry completely.
: Measure and Mark the Center
Use a measuring tape to find the center of the chosen location for your banner. Mark it with a pencil. This step is crucial, especially if your banner design requires a centered installation.
: Unroll and Inspect the Banner
Unroll the banner on a clean surface. Take a moment to inspect it for any defects or damage. Ensure that all components are present and in the correct order, especially if your banner consists of multiple pieces.
: Apply Adhesive
Follow the manufacturer’s instructions to apply the adhesive to the back of the banner. Some banners come with pre-applied adhesive, while others may require you to apply it separately. Ensure even coverage over the entire back surface.
: Position the Banner
Carefully lift the banner, starting either from the top or bottom, depending on the manufacturer’s instructions. Position it on the marked center of the garage door. If the banner is large, consider having a helper to assist with alignment.
: Smooth Out Air Bubbles
Use a flat, soft tool, such as a squeegee or credit card, to smooth out any air bubbles trapped under the banner. Start from the center and work your way outward for the best results.
: Trim Excess Material
If there’s any excess material hanging over the edges of the garage door, use scissors to trim it neatly. Take your time to ensure clean and straight cuts for a polished look.
: Check Alignment with a Level
Double-check the alignment of the banner using a level. Ensure it’s perfectly straight and centered. Make any necessary adjustments to achieve the desired look.
: Allow for Drying Time
If the adhesive requires drying time, follow the manufacturer’s recommendations before operating the garage door. This step is crucial to prevent any shifting or peeling of the banner.
: Enjoy Your Customized Garage Door
Once the adhesive is fully set, step back and admire your handiwork. Your Garage Door Repair Plano TX is now installed, adding a unique touch to your home’s exterior. Take pride in your creativity and enjoy the enhanced curb appeal.
Remember, always refer to the specific instructions provided by the manufacturer for your garage door banner, as different banners may have unique installation requirements.
Plano Overhead & Garage Doors
972-640-7299