
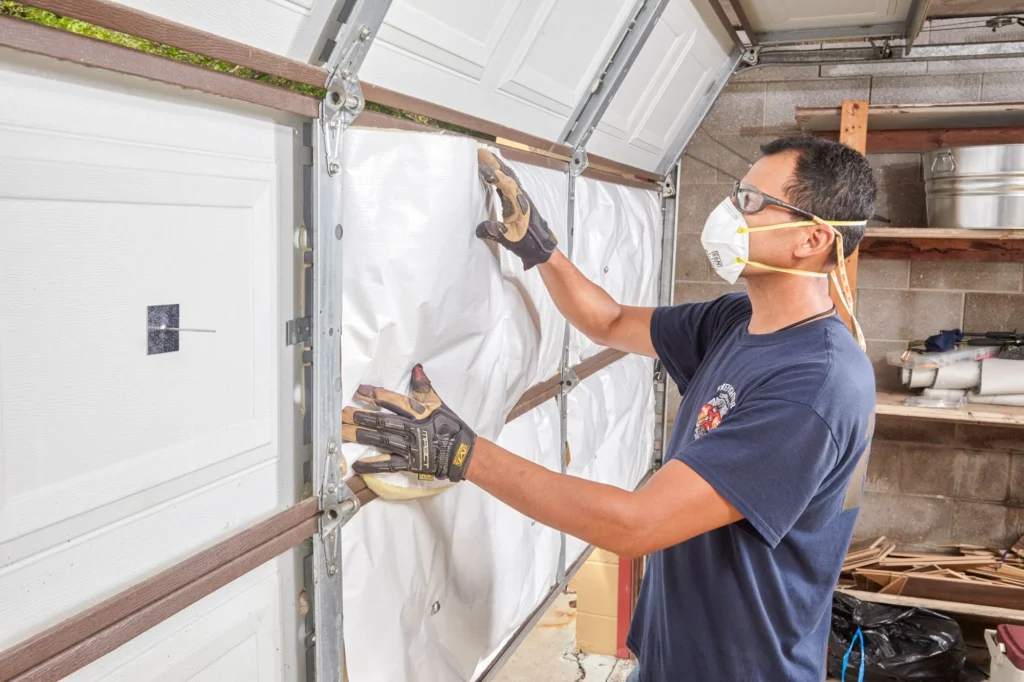
Connecting your Garage Door Repair Volo IL involves several steps to ensure proper installation, functionality, and security. Whether you’re installing a new opener or replacing an existing one, it’s essential to follow manufacturer instructions and safety guidelines.
In this comprehensive guide, I’ll walk you through the process of connecting your garage door opener, from preparation to programming and testing.
Step 1: Gather Necessary Tools and Materials
- Garage Door Opener Kit: Ensure you have all components included in the garage door opener kit, including the opener unit, rail assembly, mounting hardware, remote controls, safety sensors, and keypad (if applicable).
- Power Drill and Screwdriver: You’ll need these tools for attaching the opener to the ceiling or wall and securing the rail assembly.
- Ladder: Use a sturdy ladder to access the ceiling or wall where the opener will be installed.
- Level: A level helps ensure that the opener and rail assembly are installed correctly and aligned properly.
- Wiring Supplies: Depending on the opener model, you may need electrical wiring, extension cords, wire nuts, and electrical tape for connecting the opener to power sources and accessories.
Step 2: Prepare the Installation Area
- Clear the Garage: Remove any obstructions or clutter from the garage area to provide ample space for installation and operation of the garage door opener.
- Check Ceiling or Wall: Inspect the ceiling or wall where the opener will be installed to ensure it is structurally sound and capable of supporting the weight of the opener unit and rail assembly.
- Locate Power Source: Identify the nearest power outlet or electrical junction box where you can connect the opener to power. Ensure the power source is compatible with the voltage requirements specified in the opener’s user manual.
Step 3: Install the Garage Door Opener
- Mount the Opener Unit: Attach the opener unit to the ceiling or wall using the provided mounting brackets and hardware. Use a power drill and screws to secure the opener in place, ensuring it is level and securely fastened.
- Install Rail Assembly: Assemble the rail components according to the manufacturer’s instructions and attach them to the opener unit. Secure the rail assembly to the ceiling or wall using the provided brackets and hardware.
- Connect the Drive Mechanism: Depending on the type of opener (chain, belt, or screw drive), connect the drive mechanism to the garage door’s trolley or carriage. Follow the manufacturer’s instructions for proper assembly and alignment.
- Install Safety Sensors: Mount the safety sensors on either side of the garage door opening, approximately 6 inches above the ground. Ensure the sensors are aligned properly and facing each other to detect obstacles in the door’s path.
Step 4: Wire the Opener
- Connect Power Supply: Run electrical wiring from the nearest power source to the opener unit. Use wire nuts and electrical tape to secure the connections and prevent exposed wires.
- Connect Accessories: If your opener includes additional accessories such as wall-mounted control panels, remote controls, or keypads, follow the manufacturer’s instructions for wiring and programming these devices.
Step 5: Program and Test the Opener
- Set Up Remote Controls: Program the remote controls included with the opener according to the manufacturer’s instructions. This typically involves pressing a sequence of buttons on the opener unit and remote control to synchronize them.
- Test Safety Features: Test the safety sensors by placing an object in the door’s path while closing it. The door should reverse direction immediately upon detecting the obstacle.
- Adjust Settings: Use the opener’s control panel or smartphone app to adjust settings such as travel limits, force sensitivity, and auto-close timer as needed.
- Test Operation: Open and close the garage door several times using both the remote controls and wall-mounted control panel to ensure smooth and reliable operation.
Step 6: Secure the Opener and Accessories
- Secure Wiring: Use cable clips or zip ties to secure electrical wiring and prevent it from hanging loose or becoming tangled.
- Lock Remote Controls: If your opener includes a keypad or smart home integration, enable security features such as password protection or encryption to prevent unauthorized access.
- Secure Opener Unit: Ensure the opener unit and rail assembly are securely fastened to the ceiling or wall to prevent them from coming loose or falling.
Conclusion:
If you encounter any difficulties or have questions during the installation process, consult a professional Garage Door Repair Volo IL or contact the manufacturer’s customer support for assistance.
EDM Garage Doors, LLC
596 Richard Brown Blvd, Volo, IL 60073, United States
1-847-416-3036
https://maps.app.goo.gl/rfVASBCTvHNeKq7q9