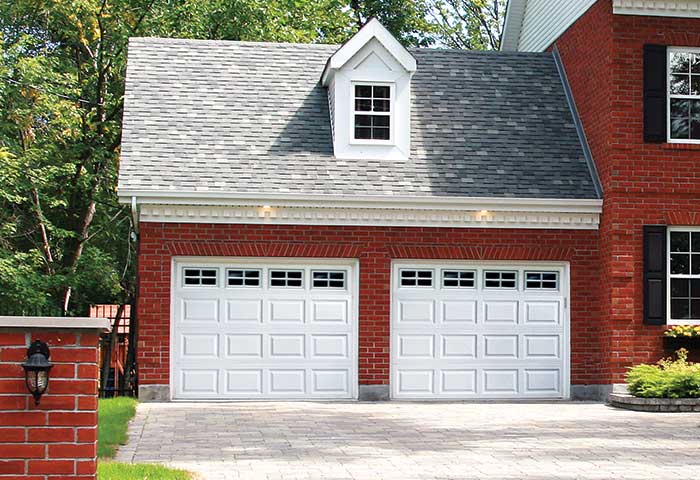
Updating the weather seal on your Garage Door Repair Mansfield TX is a practical and rewarding DIY project that can enhance energy efficiency and protect your garage from the elements.

Follow this comprehensive guide for a step-by-step walkthrough, ensuring a seamless replacement process.
Materials You’ll Need:
- New Weather Seal: Ensure it matches the dimensions of your garage door.
- Tape Measure: For accurate measurements.
- Hacksaw: To cut the weather seal to the correct size.
- Flathead Screwdriver: For removing the old seal.
- Soapy Water: To clean the door and aid installation.
: Measure Your Garage Door
Begin by measuring the width and height of your garage door. Measure both the bottom and top as these dimensions may differ. Record these measurements as they will guide your purchase of the new weather seal.
: Purchase the Right Seal
With measurements in hand, head to your local hardware store. Choose a weather seal that matches the dimensions you recorded. It’s crucial to get the right size for a snug fit and effective sealing.
: Prepare the Door
Fully open the garage door and disconnect the power to the automatic garage door opener. Safety is paramount during this project, so ensure the power is off before proceeding.
: Remove the Old Seal
Utilize a flathead screwdriver to carefully pry off the old weather seal. Start at one end and work your way across. Take your time, as the old seal may be secured with screws or nails. Remove any fasteners as you go to keep the area clean.
: Clean the Area
Once the old seal is removed, clean the bottom of the garage door. Use soapy water to eliminate any dirt, debris, or adhesive left by the old seal. A clean surface ensures a better bond for the new seal.
6: Cut the New Seal
Unroll the new weather seal and use a hacksaw to cut it to match the width of your garage door. Ensure a clean, straight cut for a professional finish. Precision in cutting is essential for a proper fit.
: Install the New Seal
Starting at one end, press the new weather seal into the track on the bottom of the garage door. Ensure it is centered and spans the full width of the door. You may need to apply some pressure to secure it in place. Work your way across the door until the entire seal is installed.
: Secure the Seal
If your new weather seal comes with screws or nails, use them to secure it in place. Ensure even spacing and tight securing along the entire length. This step contributes to the longevity and effectiveness of the seal.
: Test the Door
Open and close the garage door multiple times to verify the proper installation of the new weather seal. Confirm that it does not impede the door’s movement and forms a secure seal against the garage floor.
: Reconnect the Power
If you disconnected the power to the automatic garage door opener, now is the time to reconnect it. Test the door again to ensure everything is working correctly with the new weather seal in place.
: Final Check
Conduct a final inspection of your newly installed weather seal. Ensure it sits snug against the garage floor, creating a seamless barrier against drafts, water, and pests. This thorough check ensures the effectiveness of the replacement.
You have successfully replaced your Garage Door Repair Mansfield TX. With the new seal in place, you can enjoy improved energy efficiency and enhanced protection for your garage.
Mansfield Overhead & Garage Doors
2151 N Holland Rd, Mansfield, TX 76063, United States
1-817-769-2447
