
A wooden Garage Door Repair can add charm and functionality to your property while offering protection to your vehicles and belongings.
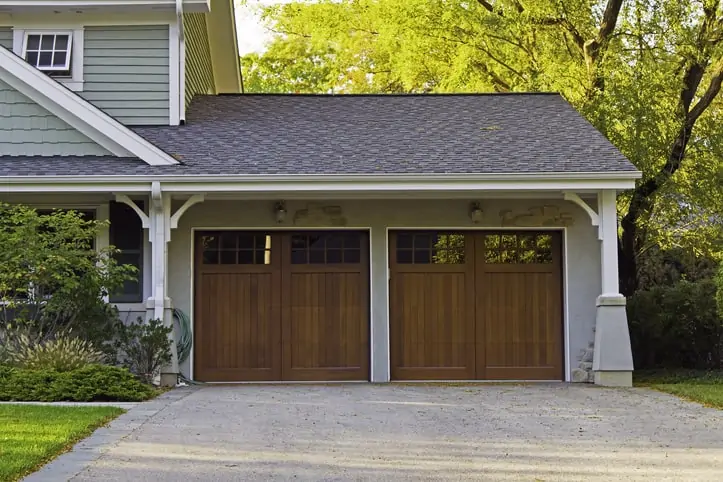
Building one yourself can be a rewarding DIY project, but it requires careful planning, the right tools, and a bit of woodworking knowledge. In this guide, we will walk you through the process of building a wooden garage door step by step.
Materials and Tools
Before you begin, gather the following materials and tools:
Materials:
- Wood boards (e.g., cedar, redwood, or oak)
- Wood glue
- Screws
- Hinges
- Garage door handles
- Weatherstripping
- Wood stain or paint
- Sandpaper
- Polyurethane sealant
- Garage door opener (optional)
Tools:
- Measuring tape
- Saw (circular saw or table saw)
- Carpenter’s square
- Power drill
- Screwdriver
- Clamps
- Safety glasses and gloves
: Measure and Plan
Start by measuring the opening of your garage. Determine the width and height required for your wooden garage door. Keep in mind that the door should be slightly smaller than the opening to allow for smooth operation.
: Choose Your Wood
Select the type of wood for your garage door. Cedar, redwood, and oak are popular choices due to their durability and resistance to rot and pests. Purchase enough wood boards to cover the door’s dimensions.
: Cut the Wood
Using a saw, carefully cut the wood boards to the dimensions you measured in. Ensure that all pieces are of the same size to maintain symmetry.
: Assemble the Door Panels
Lay out the wood boards side by side, leaving a small gap between them for expansion. Apply wood glue to the edges and secure them together using clamps. Once the glue has dried, reinforce the panels with screws for added stability.
: Create the Frame
Build a frame using the same type of wood. The frame should match the dimensions of the door panels, leaving space for hinges and any decorative elements. Attach the frame to the door panels using screws and wood glue.
: Add Decorative Elements
If desired, add decorative elements to your garage door. Common choices include crossbars or diagonal braces. Secure them to the door using screws and wood glue.
: Sand and Finish
Sand the entire door to smooth out any rough edges and create a uniform surface. Apply wood stain or paint of your choice to protect the wood and enhance its appearance. Allow the finish to dry completely.
: Install Hinges and Handles
Attach hinges to the garage door frame and the garage door opening. Make sure they are evenly spaced and properly aligned. Add handles to the exterior side of the door for easy manual operation.
: Weatherproofing
Install weatherstripping around the edges of the garage door to prevent drafts and moisture from entering your garage. Apply a polyurethane sealant to the wood to protect it from the elements.
: Optional Garage Door Opener
If you prefer the convenience of a garage door opener, follow the manufacturer’s instructions to install it. Ensure that it is properly calibrated and tested for smooth operation.
Conclusion:
Building a wooden Garage Door Repair can be a challenging but rewarding DIY project. By following these steps, you can create a custom garage door that enhances the aesthetics of your home while providing security and protection for your garage and belongings. Remember to prioritize safety throughout the process and seek professional help if needed. Enjoy the satisfaction of a job well done as you admire your newly crafted wooden garage door.
Denzel Garage Door of Costa Mesa
714-886-3808