Local Businesses Blog in Texas

Tag: Garage Floor Omaha NE

How Do I Clean Oil Stains From My Garage Floor? – The Garage Floor Company Omaha

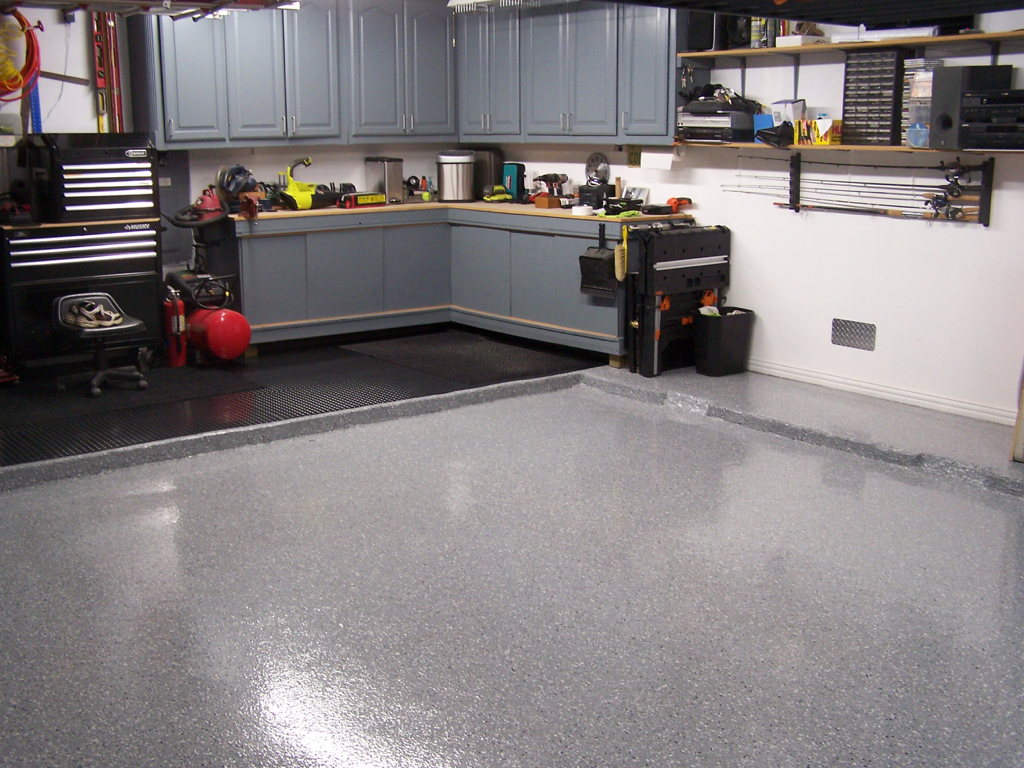
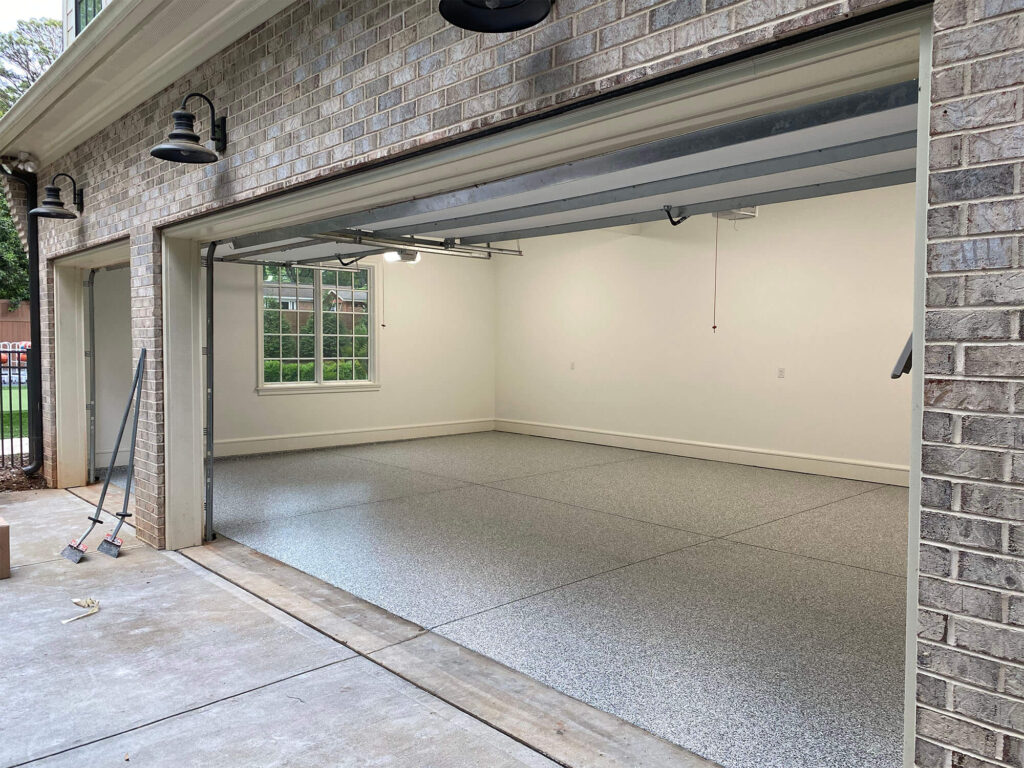
Garage Floor Omaha NE can be unsightly and difficult to remove, but with the right tools and techniques, you can effectively clean and restore the appearance of your floor.

Whether you’re dealing with fresh spills or stubborn stains that have been sitting for a while, this comprehensive guide will walk you through the step-by-step process of cleaning oil stains from your garage floor, leaving it looking clean and pristine once again.

1. Act Quickly

If you notice a fresh oil spill on your garage floor, it’s essential to act quickly to prevent the oil from penetrating the surface and causing a stubborn stain. Grab some absorbent materials such as cat litter, sawdust, or baking soda, and sprinkle them generously over the spill. Allow the absorbent material to sit on the stain for at least 15-30 minutes to soak up as much oil as possible.

2. Absorb the Oil

After the absorbent material has had time to work its magic, use a stiff-bristled brush or broom to sweep it up along with the absorbed oil. Dispose of the soiled material properly according to local regulations. If any oil residue remains on the floor, repeat the process with fresh absorbent material until the spill is fully absorbed.

3. Apply a Degreaser

Once the majority of the oil has been absorbed, it’s time to tackle the remaining residue with a degreaser. Choose a high-quality degreasing product specifically designed for use on concrete surfaces. Follow the manufacturer’s instructions for diluting the degreaser with water, then apply it generously to the stained area.

4. Scrub the Stain

Using a stiff-bristled brush or scrubbing pad, scrub the degreaser into the stain, working it in a circular motion to loosen the oil residue. Pay particular attention to any stubborn spots or deeply embedded stains, applying extra pressure as needed to break up the oil and lift it from the surface of the concrete.

5. Allow Dwell Time

After scrubbing the stain thoroughly, allow the degreaser to sit on the surface of the concrete for the recommended dwell time specified by the manufacturer. This allows the degreaser to penetrate the pores of the concrete and break down any remaining oil residue, making it easier to remove during the rinsing process.

6. Rinse the Floor

Once the dwell time has elapsed, rinse the floor thoroughly with clean water to remove the degreaser and any loosened oil residue. Use a garden hose or pressure washer to ensure thorough coverage and effective rinsing. Be sure to rinse the floor in sections, working from one end to the other, to prevent the degreaser from drying on the surface of the concrete.

7. Repeat if Necessary

For stubborn or heavily stained areas, you may need to repeat the cleaning process with additional applications of degreaser and scrubbing. Be patient and persistent, taking the time to thoroughly clean each section of the floor until the oil stains are completely removed.

8. Dry the Floor

After rinsing the floor, allow it to dry completely before assessing the results. Use a squeegee or mop to remove any excess water, then allow the floor to air dry naturally. Avoid walking or driving on the wet concrete to prevent recontamination with oil or dirt.

9. Evaluate the Results

Once the floor is dry, inspect the cleaned area to ensure that the oil stains have been effectively removed. If any stubborn stains persist, you may need to repeat the cleaning process or try alternative methods such as using a stronger degreaser or applying a poultice.

10. Prevent Future Stains

To prevent future oil stains on your garage floor, consider taking proactive measures such as using drip pans or trays under vehicles to catch any leaks or spills. You can also apply a concrete sealer or epoxy coating to the floor to create a barrier that repels oil and other liquids, making them easier to clean up.

By following these steps and using the right tools and techniques, you can effectively clean oil stains from your garage floor and restore its appearance. With regular maintenance and preventive measures, you can keep your garage floor looking clean and pristine for years to come.

The Garage Floor Company Omaha

15125 Industrial Rd, Omaha, NE 68144, United States

1-402-576-5599

How To Epoxy Garage floor – Omaha’s Best Epoxy Garage Floor

What is Epoxy?

Epoxy is a type of thermosetting resin that, when combined with a hardening agent, creates a tough and protective coating. It is commonly used for industrial and commercial applications due to its excellent durability, chemical resistance, and aesthetic appeal.

Benefits of Epoxy Garage Floors

Epoxy Garage Floor Omaha NE offer numerous benefits that make them a popular choice among homeowners. Some advantages of epoxy coatings include:

  • Enhanced durability: Epoxy creates a hard and resilient surface that can withstand heavy traffic, impacts, and abrasions.
  • Improved aesthetics: With a wide range of color options and finishes available, epoxy coatings can transform a dull garage floor into a visually appealing space.
  • Easy maintenance: Epoxy floors are seamless and resistant to stains, making them easy to clean and maintain.
  • Chemical resistance: Epoxy coatings are resistant to chemicals, oil, grease, and other common substances found in garages.
  • Light reflectivity: Epoxy coatings have a high gloss finish that enhances the brightness of the garage by reflecting light.

Preparing the Garage Floor

Clearing and Cleaning the Floor

Before applying epoxy, it is essential to clear the garage floor of any objects, tools, or debris. Sweep or vacuum the floor thoroughly to remove loose dirt and dust. Next, use a degreaser or a concrete cleaner to eliminate any oil stains or other contaminants. Rinse the floor with clean water and allow it to dry completely.

Repairing Cracks and Imperfections

Inspect the garage floor for cracks, holes, or other imperfections. Use a concrete patching compound to repair any damages

Repairing Cracks and Imperfections

Inspect the garage floor for cracks, holes, or other imperfections. Use a concrete patching compound to repair any damages. Follow the manufacturer’s instructions to mix the compound and apply it to the affected areas. Smooth the surface with a trowel and allow it to dry completely before proceeding.

Choosing the Right Epoxy System

Water-Based Epoxy vs. Solvent-Based Epoxy

There are two primary types of epoxy systems: water-based and solvent-based. Water-based epoxy is easy to work with, has low odor, and dries quickly. It is a suitable choice for residential applications. On the other hand, solvent-based epoxy is more durable and provides better resistance to chemicals and abrasions. It is commonly used in commercial and industrial settings. Consider your specific needs and preferences when selecting the epoxy system for your garage floor.

Color and Finish Options

Epoxy coatings come in various colors and finishes, allowing you to customize the look of your garage floor. Consider the overall aesthetic of your garage and choose a color that complements the existing design. Additionally, you can opt for a glossy finish to create a sleek and polished appearance or a matte finish for a more subtle look.

Gathering the Necessary Tools and Materials

Tools Needed

Before starting the epoxy application, gather the following tools:

  • Broom or vacuum cleaner
  • Scrub brush or floor scrubber
  • Squeegee or roller
  • Paintbrush or paint roller
  • Plastic sheeting or drop cloths
  • Safety goggles and gloves
  • Mixing paddle or drill with mixing attachment

Materials Required

To epoxy your garage floor, you will need the following materials:

  • Epoxy coating kit (including epoxy resin and hardener)
  • Concrete etching solution
  • Concrete patching compound
  • Painters’ tape
  • Decorative elements (optional) such as colored flakes or quartz crystals
  • Clear topcoat (optional) for added protection and shine

Ensure you have all the necessary tools and materials on hand before starting the epoxy application process.

Applying the Epoxy Coating

Etching the Concrete Surface

Etching the concrete surface is crucial to ensure proper adhesion of the epoxy coating. Follow the instructions on the concrete etching solution packaging to mix it with water. Apply the solution to the floor using a sprayer or mop, and scrub it thoroughly with a scrub brush or floor scrubber. Rinse the floor with clean water and allow it to dry completely.

Applying the Primer Coat

Apply the primer coat as per the instructions provided with your epoxy coating kit. Use a paintbrush or paint roller to apply the primer evenly across the floor. Ensure complete coverage and let the primer coat dry for the specified time.

Spreading the Epoxy Topcoat

Prepare the epoxy resin and hardener according to the instructions on the kit. Mix them thoroughly using a mixing paddle or a drill with a mixing attachment. Start by applying the epoxy mixture along the edges of the floor using a brush, creating a border. Then, pour the remaining epoxy mixture onto the floor and spread it using a squeegee or roller. Work in small sections to ensure even distribution and avoid overlapping.

Adding Decorative Elements (optional)

To enhance the appearance of your epoxy garage floor, you can add decorative elements like colored flakes or quartz crystals. Sprinkle them evenly onto the wet epoxy surface while it is still tacky. Allow the epoxy to cure according to the manufacturer’s instructions.

Curing and Finishing the Epoxy Coating

Allowing Sufficient Curing Time

After applying the epoxy topcoat, allow it to cure for the recommended time.Curing and Finishing the Epoxy Coating

Allowing Sufficient Curing Time

After applying the epoxy topcoat, allow it to cure for the recommended time. This typically ranges from 24 to 72 hours, depending on the epoxy system and environmental conditions. During this curing period, ensure that the garage remains clean and free from any traffic or debris that could damage the epoxy surface.

Applying a Clear Topcoat (optional)

For added protection and an enhanced glossy finish, you may choose to apply a clear topcoat over the cured epoxy surface. This topcoat provides an additional layer of durability and resistance to chemicals and abrasions. Follow the instructions provided with the topcoat product and apply it evenly using a paint roller or brush. Allow the topcoat to cure according to the manufacturer’s guidelines.

Installing Baseboards or Cove Molding (optional)

To give your garage a finished look, you can consider installing baseboards or cove molding along the walls. These decorative elements not only provide a clean edge but also help protect the epoxy coating from damage caused by moisture or impact. Choose baseboards or cove molding that complements the overall aesthetic of your garage.

Maintaining and Cleaning the Epoxy Garage Floor

Regular Cleaning Routine

To maintain the appearance and longevity of your epoxy garage floor, establish a regular cleaning routine. Sweep or use a soft-bristle broom to remove loose dirt and debris. For more thorough cleaning, mop the floor using a mild detergent mixed with warm water. Avoid using harsh chemicals or abrasive cleaners that can damage the epoxy surface.

Preventing Damage and Wear

While epoxy floors are durable, taking some preventive measures can extend their lifespan. Place mats or rugs near the garage entrance to trap dirt and prevent it from being tracked onto the epoxy surface. Avoid dragging heavy objects across the floor to prevent scratches or gouges. Additionally, use caution when working with sharp tools or chemicals to prevent accidental damage.

Conclusion

Epoxy Garage Floor Omaha NE offer a practical and visually appealing solution for upgrading your garage space. By following the step-by-step process outlined in this guide, you can successfully epoxy your garage floor and enjoy its benefits for years to come. From preparing the floor to choosing the right epoxy system, applying the coating, and maintaining it, each step contributes to achieving a professional-looking and long-lasting result.

Omaha’s Best Epoxy Garage Floor

5060 Dodge St, Omaha, NE 68132

1-402-814-8957

Powered by WordPress & Theme by Anders Norén